Adding a Link or URL into Moodle
This short instruction set will show you how to add Links, or URLs into your Moodle course for student viewing. Zoom cloud recordings or external lecture material can be added with these instructions.
Order of operations:
- Turn editing on
- Add an activity or resource
- Select URL resource
- Name, Link, 'Appearance' setting to 'Automatic'
- Save and return to course - Test the link
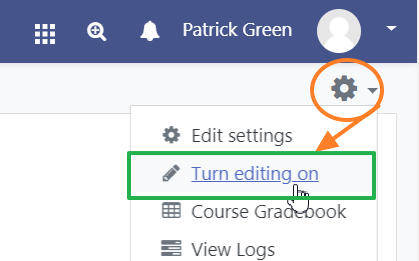
Turn editing on
- To begin, enable editing in your course if it is not enabled already.
- Enable editing by clicking on the Gear Icon in the upper right hand corner below your name, and then clicking 'Turn editing on'
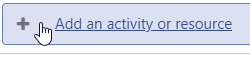
Add an activity or resource
- Locate the weekly module you wish to add the link to, and click 'Add an activity or resource' in the bottom left corner of that weekly module.
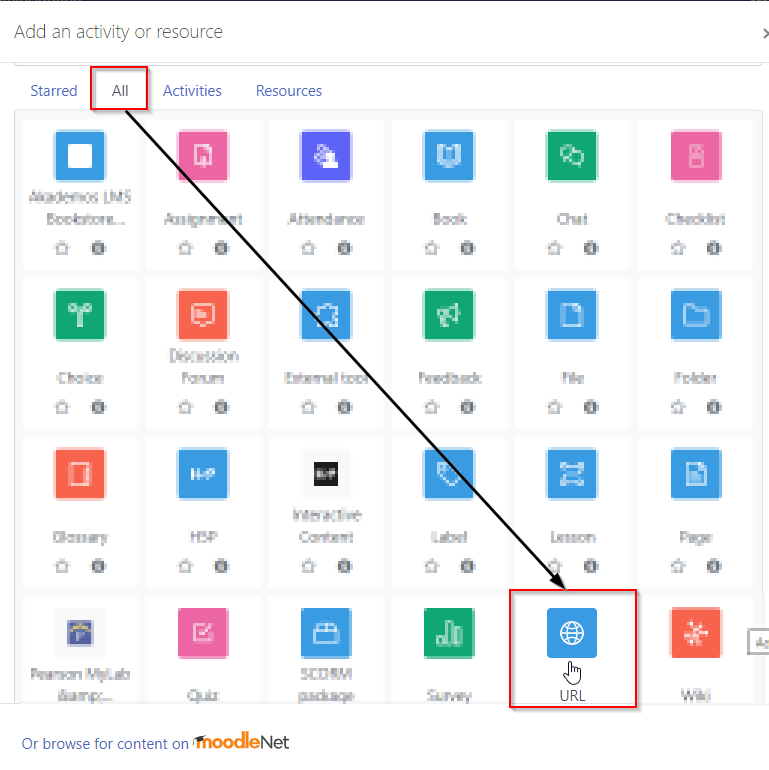
Select URL resource
- A pop-up box will appear after clicking on 'Add an activity or resource' in the previous step.
- Scroll down inside this box and locate the 'URL' selection at the very bottom.
- Click 'URL'.
Name, Link, 'Appearance' setting to 'Automatic'
- After clicking 'URL' you will be able to establish the link.
- First give your link a Name that students will know it as.
- Next, paste your link in the 'External URL' box.
- You can optionally provide a description to preface the link.
- Lastly, click on the blue 'Appearance' text to expand the setting options. Change the Display setting from 'Embed' to 'Automatic'.
- NOTE: If you are sharing a link from the Outlook Web app, ensure the link does not begin with 'exchangefe' as students cannot access these links. To share a link like this, visit the link yourself and copy the link from your browser so students can access it.

Save and return to course - Test the link
- Finally, Press 'Save and Return' at the bottom to save and publish the link in your course.
- Be sure to check the link to verify it is accessable and the correct link.