Uploading a Zip File
If you have a pre-created folder filled with multiple files or subfolders you can upload this folder and its contents all at once. Here's how:
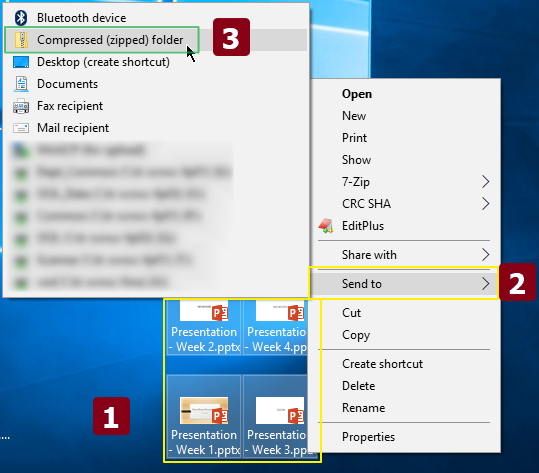
Compress/zip the folder using these steps:
- right-click on the folder or item(s) [1]
- Select "Send to" [2]
- Then choose "Compressed (zipped) folder" [3]
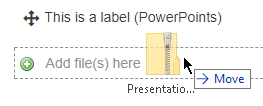
With editing turned on, drag the zipped file into Moodle.
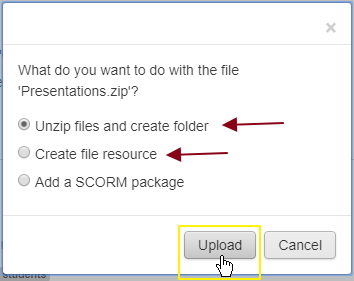
A popup will appear, asking what to do with the zip file. Choose one:
- Unzipping the file and creating a folder will unzip it in Moodle.
- Creating a file resource will keep the file zipped in Moodle, allowing students to download the file as zipped.
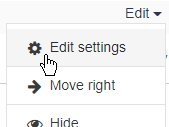
If you choose "Unzip files and create folder" in the above step, you will want to do one more additional step. Click the "Edit > Edit Settings" icon, located to the right of your newly uploaded folder.
In the "Contents" section of the update page, choose how you wish to display this folder. You may choose to force the folder to open in a separate page, or display the folder's contents expanded on the course outline page.
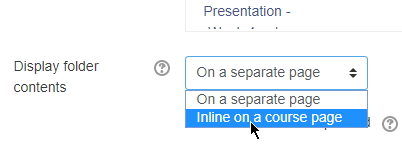
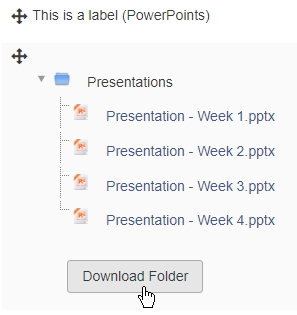
When students click on the folder, it will expand and reveal the contents of the folder as downloadable files (Shown: Inline).